
THE HOMEOWNER’S GUIDE TO SOLAR GETTING IT INSTALLED
From signing to switch-on
See the usual steps from planning and site assessment to permits, inspection and utility approval.
← Back to the guide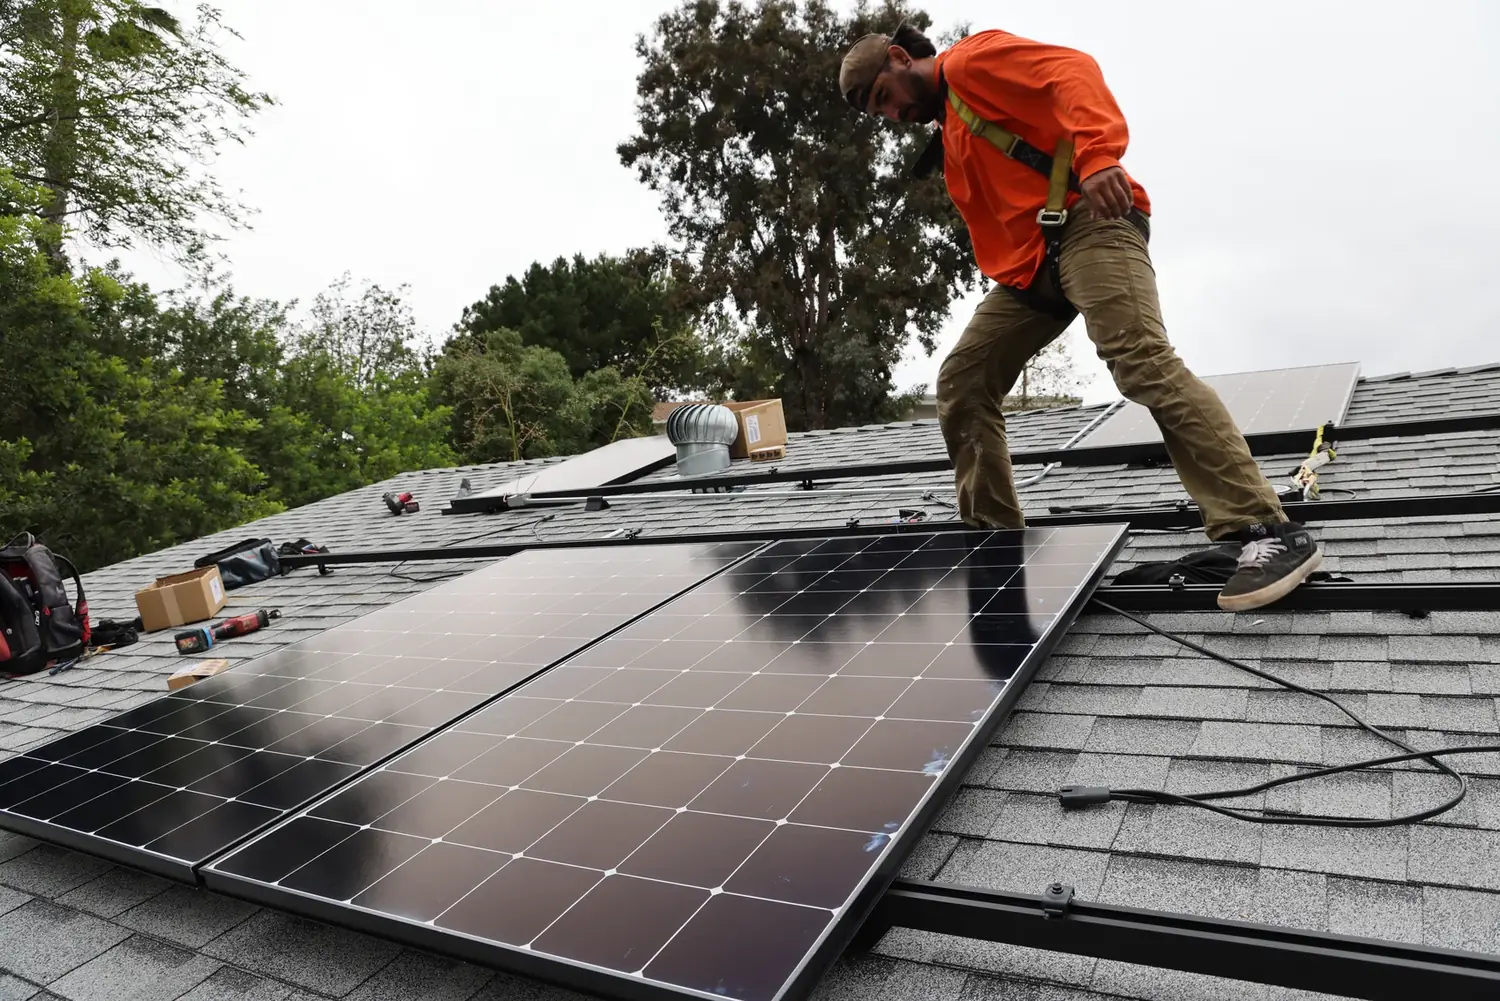 Solar installation example
On this page
Going solar involves more than installation day. Design, permits, construction, inspection and utility interconnection all need attention. The sequence and timing vary by project, city or county, and utility; some steps can happen at the same time.
1. Confirm the plan
Review your proposal and agreement, including the equipment, scope, costs and responsibilities. A site assessment helps the installer confirm roof conditions, the electrical system and the proposed layout. Ask how any changes will be documented and approved.
2. Design and approvals
The installer prepares the system design and generally handles permit and utility paperwork, subject to your agreement. Ask who submits each application, whether you need to sign anything, and whether an association has a separate process. Local permit requirements and utility interconnection requirements are distinct.
3. Installation and inspection
After the required approvals to start work, the crew installs the system. Installation time varies with the work and site. The local jurisdiction generally inspects the completed work; the installer should explain how any corrections will be handled.
4. Permission to operate
For a grid-connected system, the utility’s authorization is a separate step. Do not assume that a completed installation or local inspection alone means the system may operate. For example, SDG&E issues a permission-to-operate notice after its applicable requirements are satisfied. Your own utility’s process controls.
5. Get to know your system
Ask for the final paperwork, operating instructions, monitoring access and the right contact for service. Save a copy of your permit and utility authorization with your project documents.
Sources and further reading
KEEP EXPLORING